October 30th, 2018
Happy Halloween Friends! The devils in the details: My costumes are a production! Every year I look forward to making my looks more and more elaborate! So here goes! WARNING!! This costume is time-consuming however, the end result is truly magical and breathtaking!
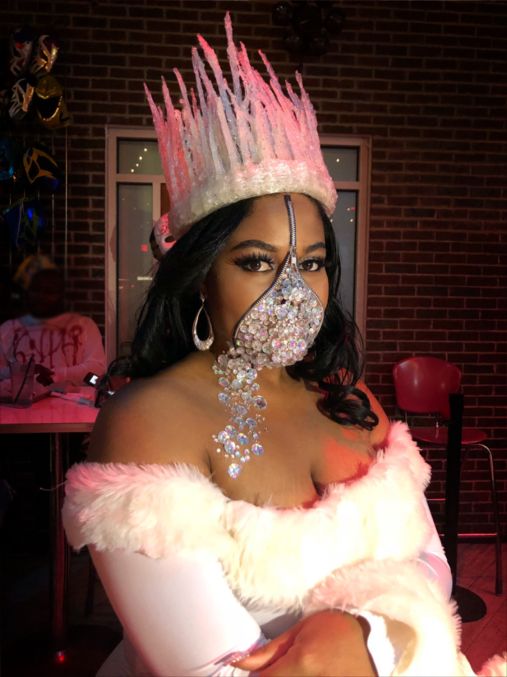
I received TONS of compliments on my Ice Queen costume. To create this look I combined two ideas I found on Pinterest. Yes, I was able to talk and drink cocktails (through a straw). You can forget smiling, these rhinestones will make your face a little stiff haha! Throughout the e
Below, I have listed video tutorials, my own personal notes, and links. I hope you guys enjoy!
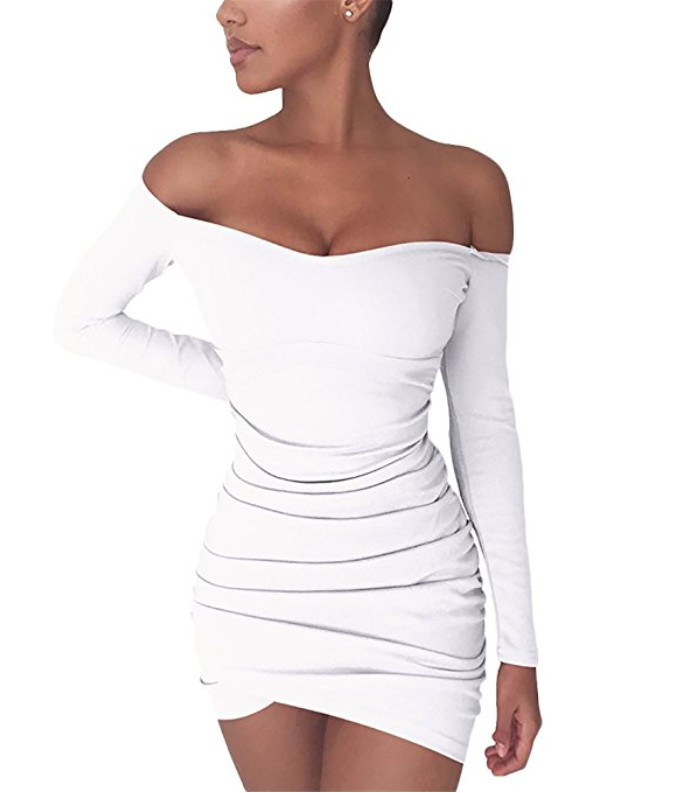
My Dress
$19.99 on Amazon.com This dress is very comfortable! The ruching works perfectly on curvy figures. I loved it! Super sexy and comfy.
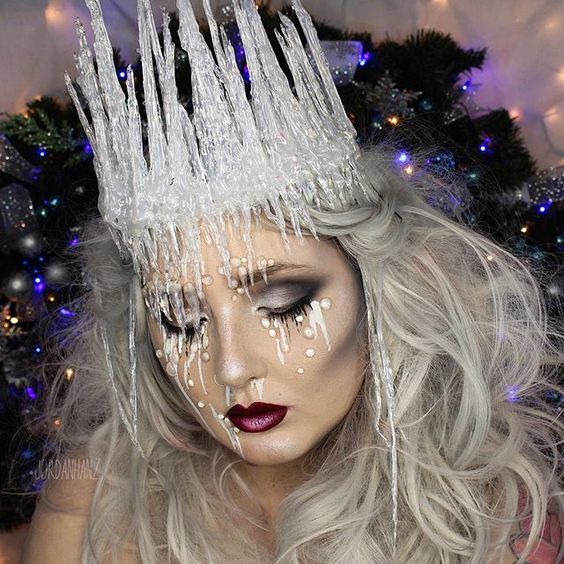
Hot Glue Crown: Pinterest Inspiration
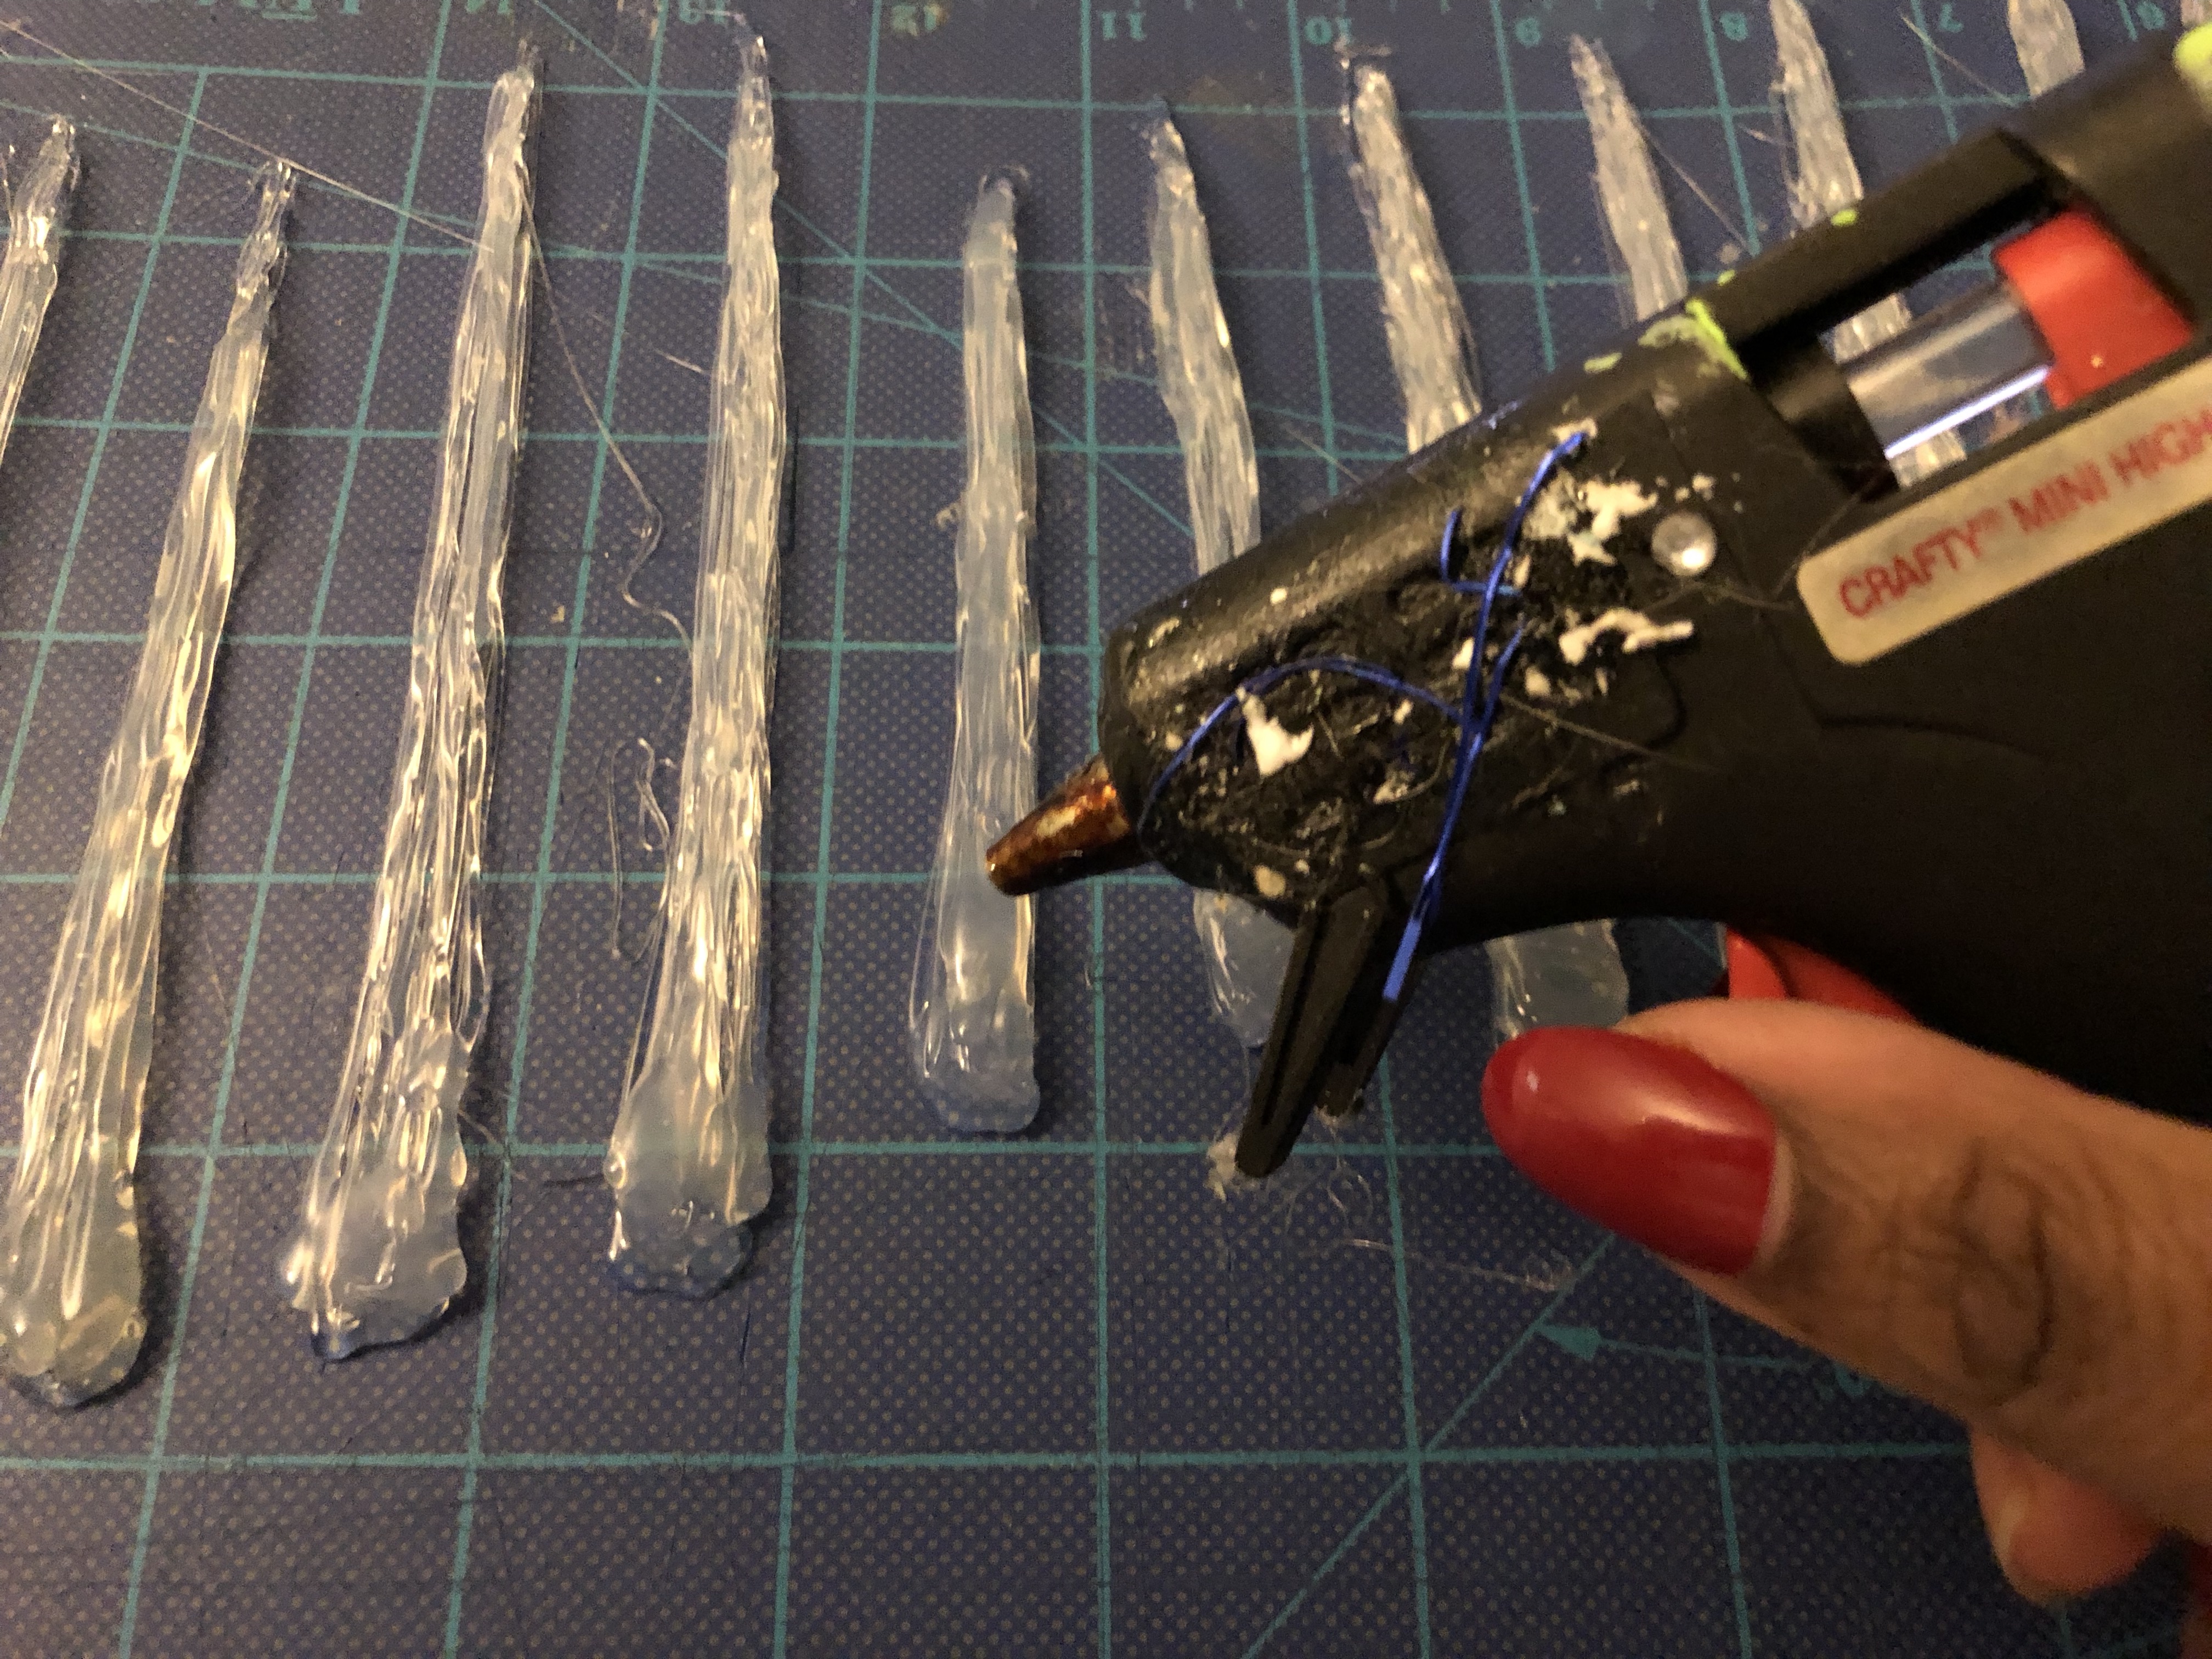
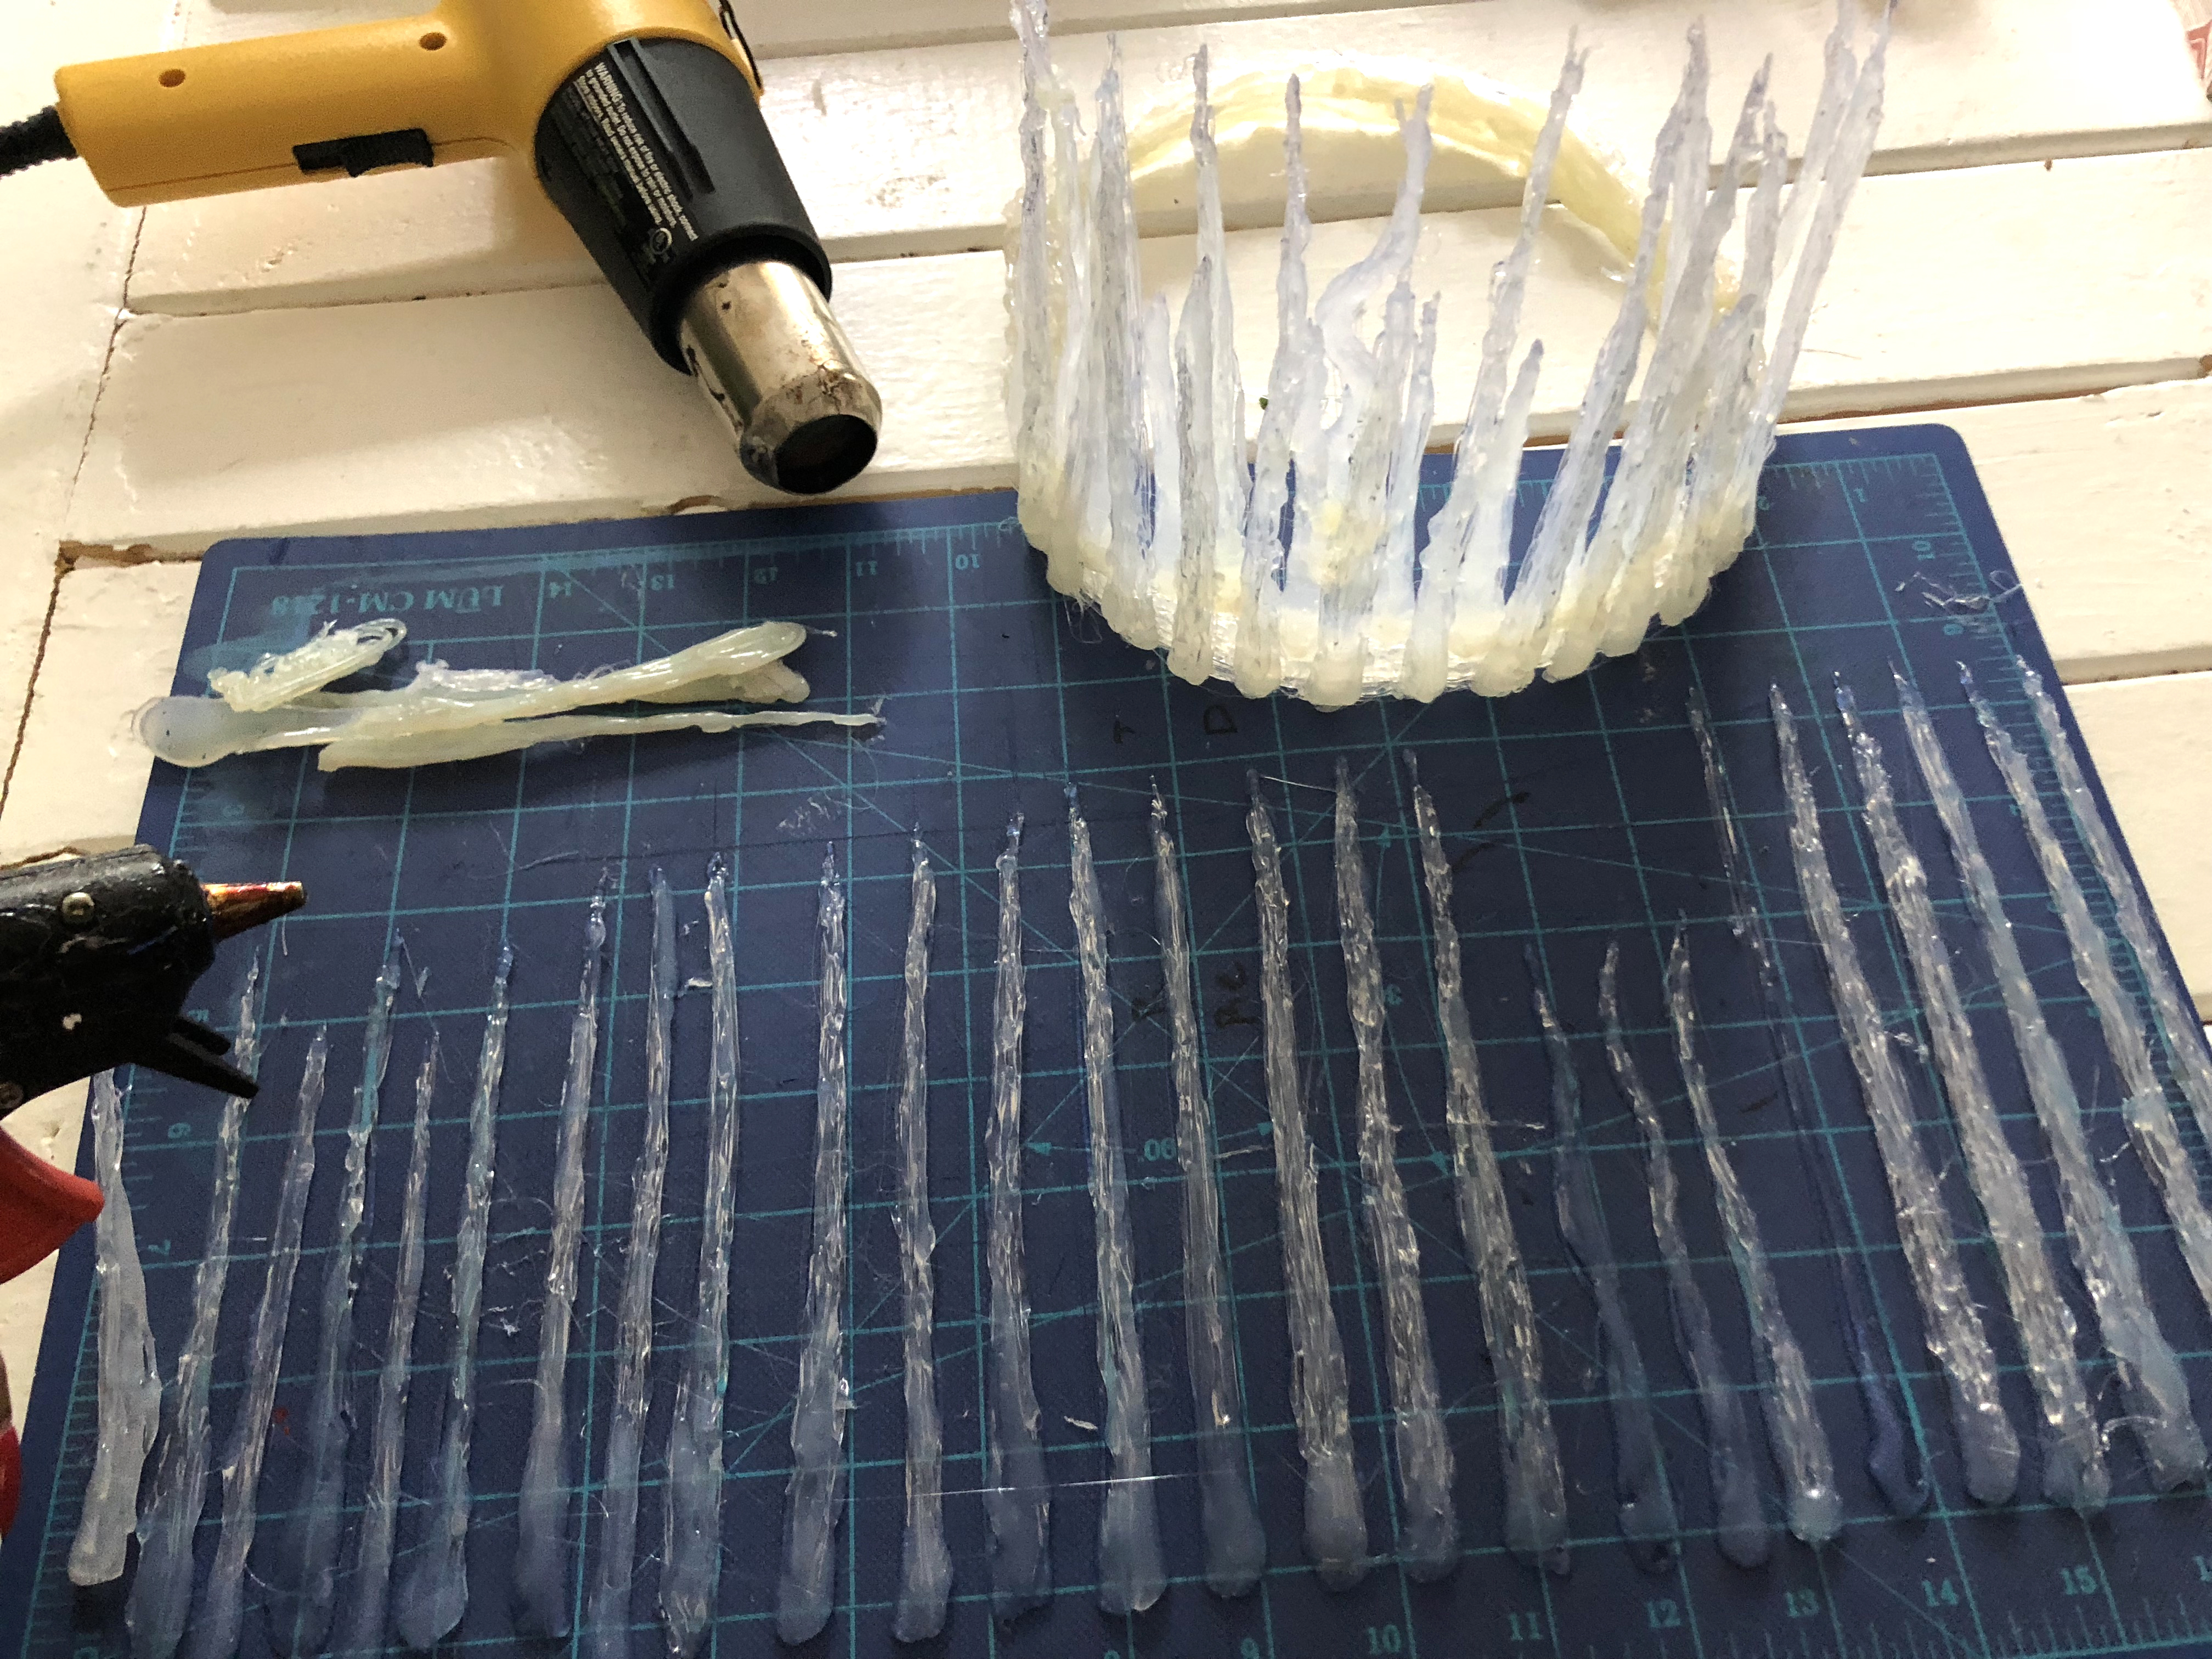
Supplies You Will Need
Different Sizes of Rhinestones: I purchased a sheet of Rhinestone stickers from Walmart for $2.48 (don’t rely on the adhesive)
7 – 8inch Zipper: Walmart $1.47
Clear Eyelash Glue: Walgreens $3.99 (YES you will need this. Some of the adhesive stickers won’t stick, or stay in place for several hours. DON’T use dark glue, the access glue might show on your face)
Scissors: Be sure they’re very sharp
Glitter: To fill any gaps
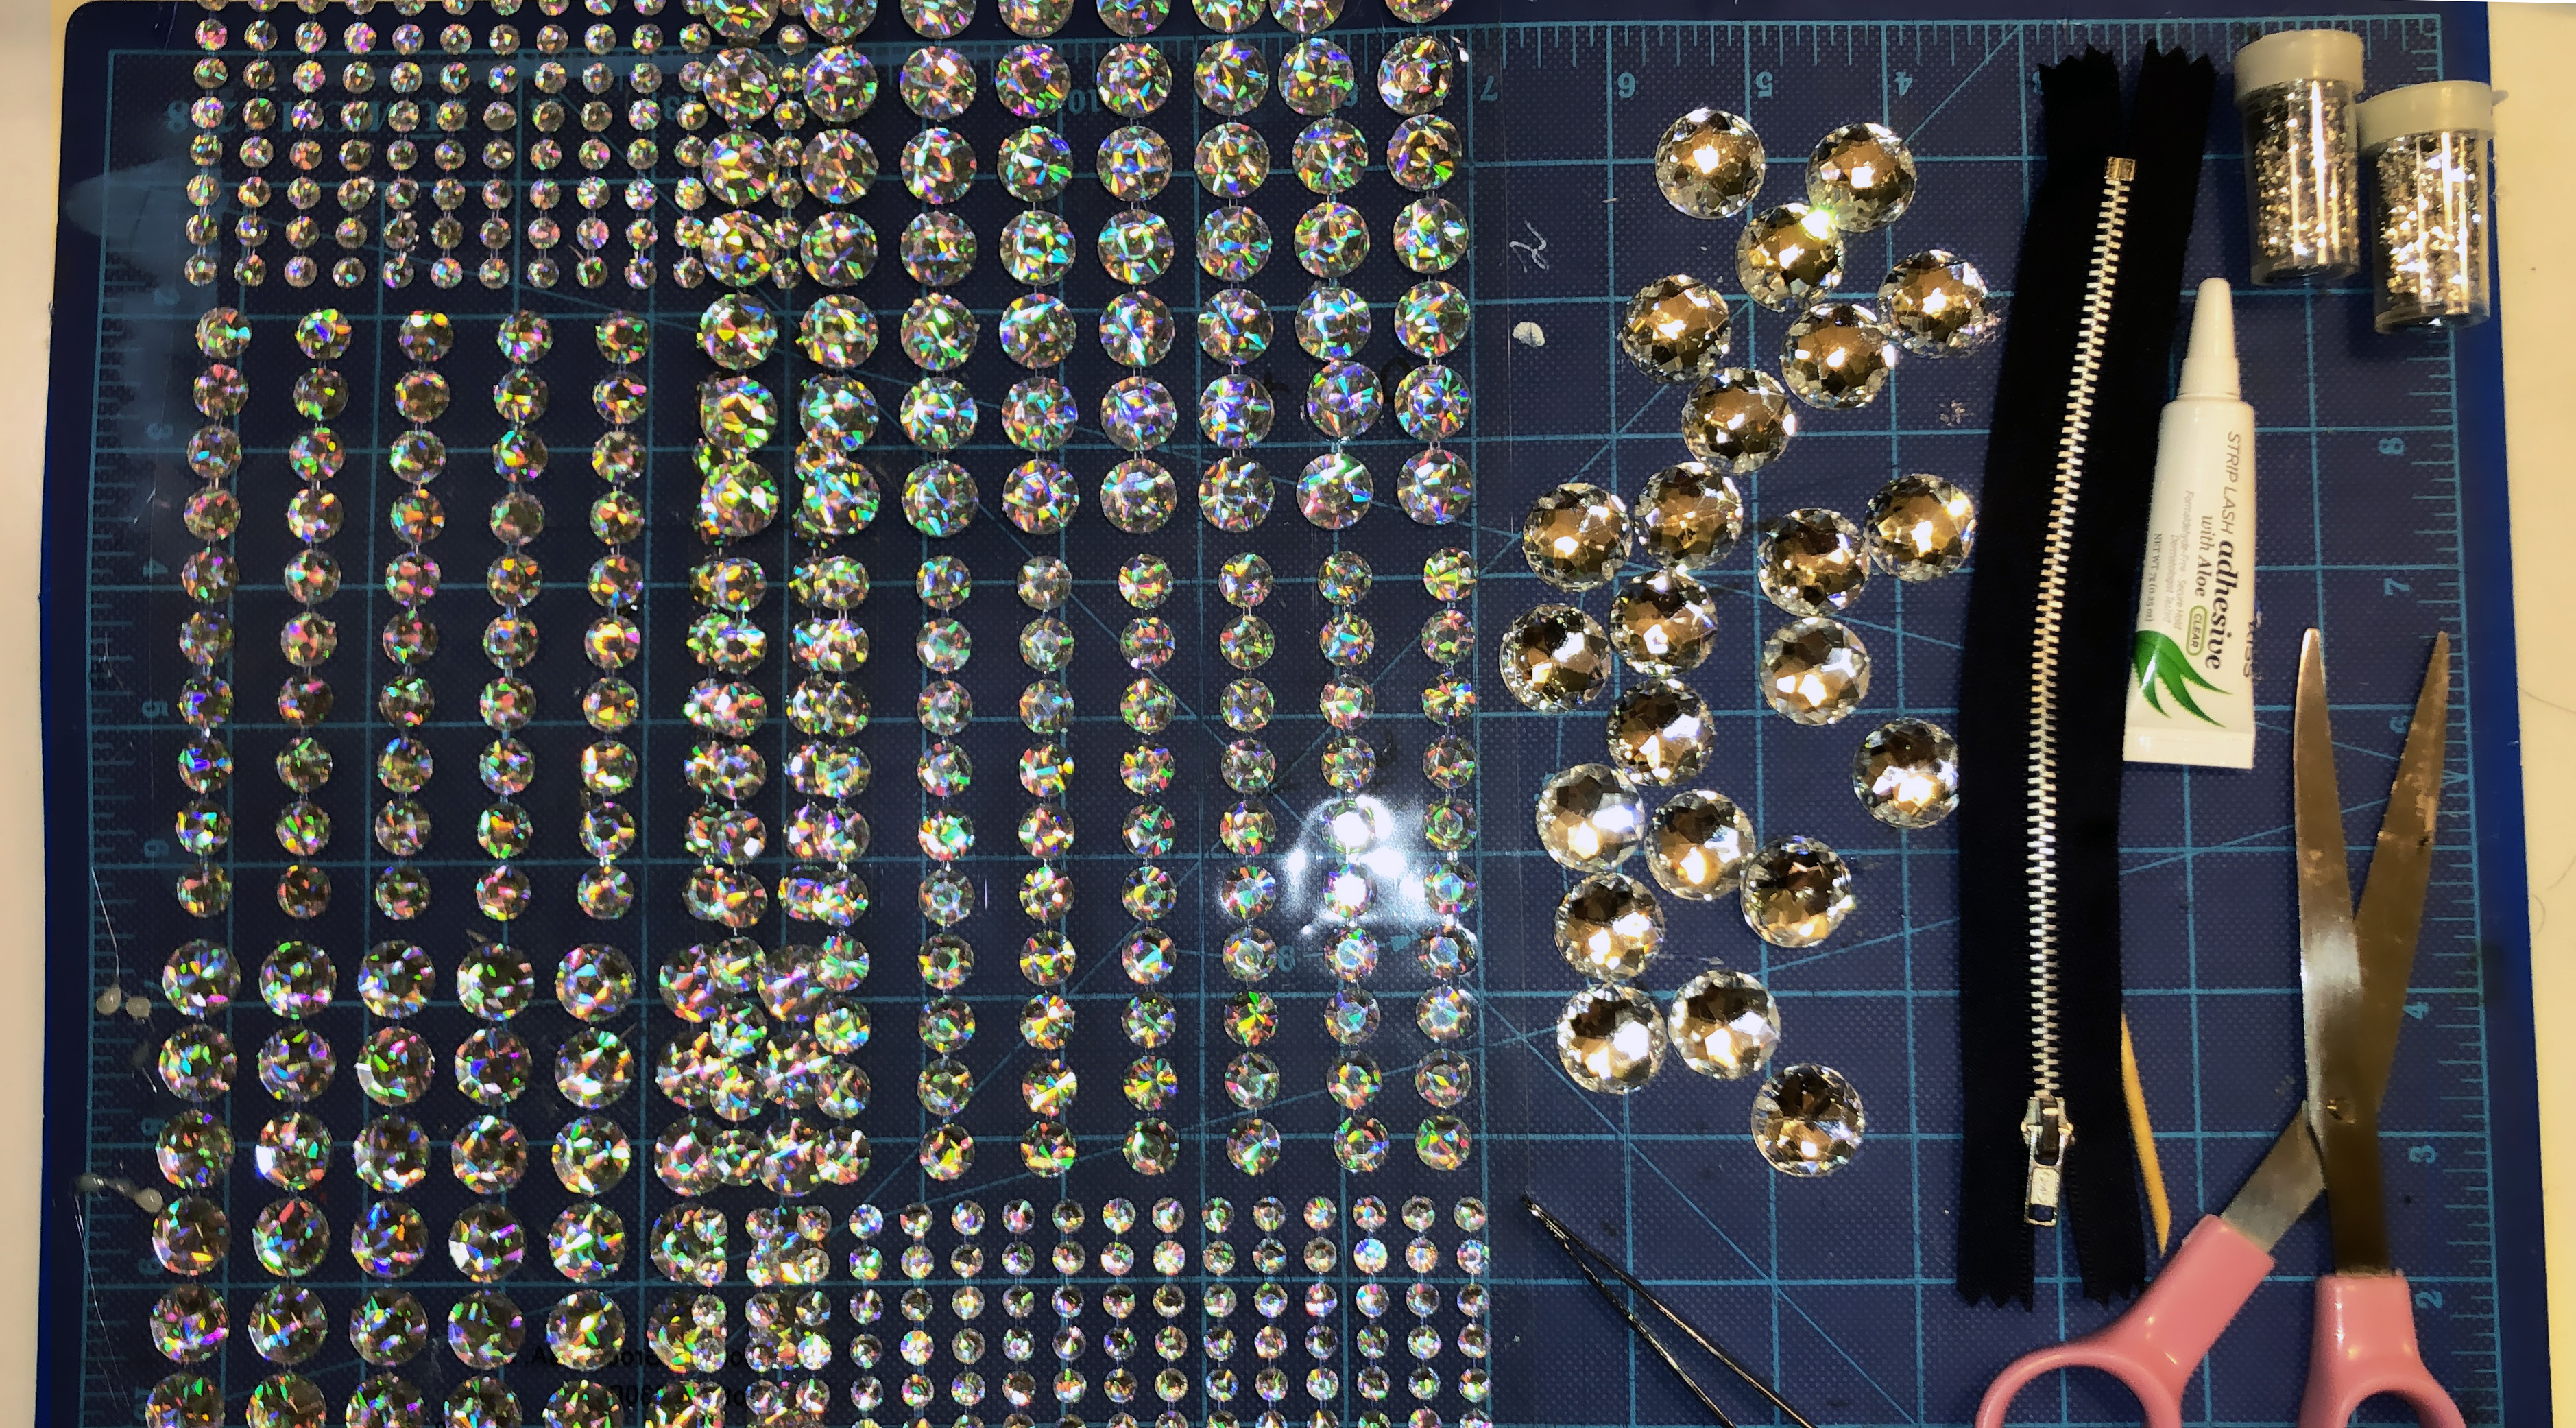
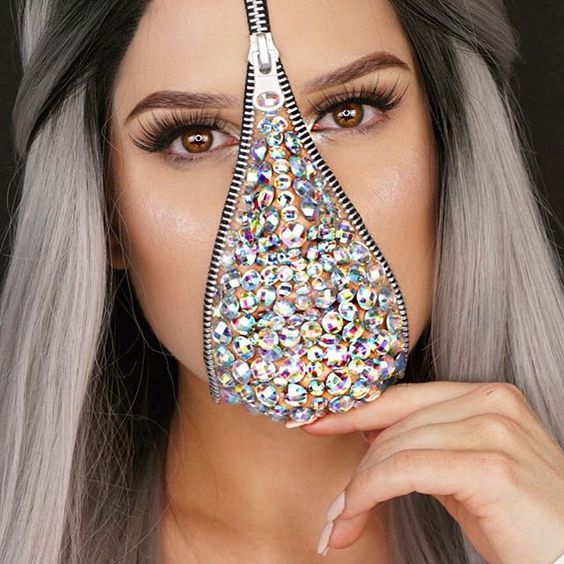
Rhinestone Zipper Face: Pinterest Inspiration
Work time: 2HRS – To apply the zipper, stones, makeup & eyelashes
Rhinestone Zipper Face Tutorial: Here